
CAULKING YOUR KITCHEN AND BATHS
The most common misunderstanding about caulking is, “How do you pronounce it?” Now I don’t want to be improper here so here’s my best attempt without a voice recording for you to listen to, but It’s pronounced, Ca-ulk-ing. Now say it fast…. Not bad, but for a few of you, you keep pronouncing it, Cauking. While you practice saying it without blushing or making caulk jokes, let me teach you all you need to know for a good ca-ulk job.
There are different types of caulk for all kinds of jobs. From simple painters caulk to high strength adhesive caulk. But I am only going to educate you on kitchen and bath caulking. Most of us contractors and handymen will charge you a couple hundred dollars to fill some joints, so why not learn it for yourself and leave the restoration work to us.
ALL INFORMATION IN THIS NEWSLETTER IS BASED ON MY OPINIONS AND EXPERIENCE. SOME MANUFACTURES MAY HAVE MORE SPECIFIC DESCRIPTIONS AND APPLICATIONS THAN I PRESENT. YOU CAN ALWAYS CALL ME IF YOU WANT ADDITIONAL EXPLANATIONS OR A RECOMMENDED CAULK FOR YOUR HOME.
Let's get caulking!
By Mark Ortiz, NATURAL STONE PROFESSIONAL/NOVICE BLOGGER

COMMON TYPES AND PURPOSES OF CAULKING
Latex
Acrylic
Silicone
Water based
Water proof
Water resistant
Filling large or small gaps
Caulk that can be painted
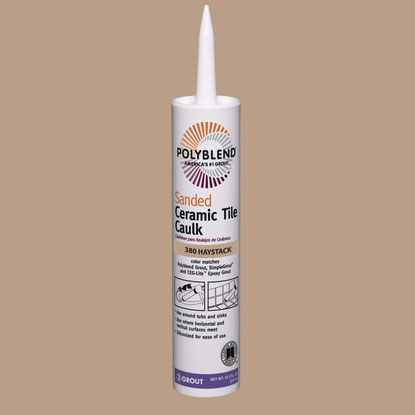
Caulk that matches grout
Caulk for kitchen back splashes
Caulk for sinks
Caulk for showers
As you can see, there are many descriptions and uses for caulk, and having a basic knowledge of them can help you prevent major water damage or help make the joints look better. I’m going to mostly show Home Depot’s products for pictures because the Depot has many caulk options for your home, and I’m too lazy to go to multiple tile shops. There are several quality tile and stone shops that sell grout and who also have a good selection of caulk. Call around and find out who’s in your area. Your tile supplier or installer should be a good start.
Let's get educated. There are two types of caulking we will discuss today, Acrylic latex and Silicone caulk.
ACRYLIC LATEX CAULK
Acrylic Latex is a caulk recommended (by me) where there is no heavy or frequent water exposure. It is water based, meaning it either was made with water and / or can be cleaned up with water. Latex caulk can include both sanded or unsanded types depending on the width and type of grout on your tile.
Areas I prefer latex include: ceilings in showers, the gap between top of back splash and wall, the gap between backsplash and countertop, the gaps between tub tiles and walls or floors.
Advantages: There are more choices in colors. In the tile section, there are several caulking colors that “match” the same brand tile grout. Also, when you use a unsanded tile backsplash then you can use a unsanded caulk, and if you use a sanded grout, you can use a sanded caulk. Most suppliers do not keep every color in stock. Ask them if they have matching caulk to the chosen grout color. Painters caulk is usually white; I only use this between the back splash top and the painted drywall and conveniently, latex can be painted, I recommend it be painted with the wall paint color for best appearance.
Disadvantages: Latex doesn’t provide the best water proofing. It doesn’t stretch nor have high elasticity in joints that move or expand over time.

SILICONE CAULK
Silicone for kitchen and baths are primarily for waterproofing. Any place water is in constant use, this is where silicone is needed. It is a sticky rubber-like substance, indicating that you cannot clean up with water, and if you try, you’ll make a mess you will regret. Read the label, for it will tell you if you can clean up with water. Silicone can be used for both narrow and wide joints.
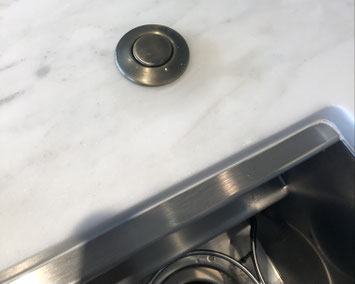
Areas I prefer silicone include: Kitchen and bath sinks, undermount tub joints, shower glass and where any adjoining surfaces that have frequent or possible movement.
Advantages: Waterproof, very flexible, stays put for a long time, has adhesive properties.
Disadvantages: Messy to clean up, paint doesn’t stick to it, difficult to remove if you didn’t apply correctly the first time. Not a lot of colors to choose from.
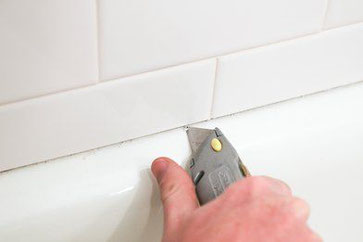
Step 1. Prep
All joints need to be cleaned well using utility knives, razor blades, acetone, thin edge brushes, and a vacuum. Removing all existing caulk residue makes for a better appearance. Clean it well. Do not get acetone on painted or wood stained surfaces.
And do not get the joint wet with water. It must be dry! In showers, I would wait the following day before caulking.
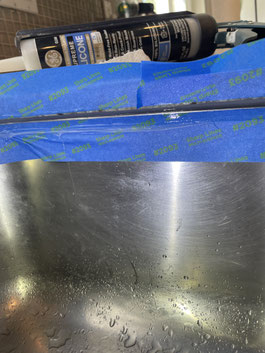
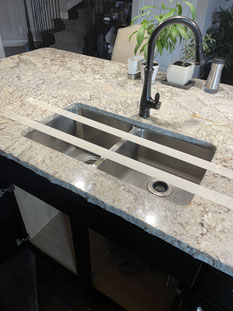
Step 2. Tape Off
I do this on almost every caulk filling. Taping off both sides of the joint, keeping the tape line about ⅛ inch away from the joint is the most important step to a clean line and easy clean up. Use blue tape on painted walls and on most applications, and never use duct tape.
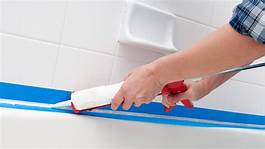
Step 3. Applying Caulk
Most caulking comes in a cylinder shaped tube that requires a caulking gun. Always buy the caulk gun with an attached metal poker. Some silicones and painters caulk comes in a small tube that squeezes out by hand. Both work the same. Cut the tip off according to the width of the joint you are filling.
Fill the joint with enough caulk to fill the joint and leave a small amount of extra to spread. Do not fill more than three feet at a time. Release the pressure on the caulking gun and set it on a paper towel or rag. Use your finger or wear a painters rubber glove and spread the caulk in the joint. You may need to go back and forth 2 or 3 times with your finger to make sure it is filled. Add more as needed. Keep your fingers clean, wiping with a paper towel or rag often.
For latex grouts you should damp sponge the joint 1-3 passes, rinsing the sponge often. Do not over wet or over sponge the joint or it will not dry properly.
Repeat the process for the whole joint. Check for pinholes or missed areas. Apply and spread over missed areas.
Step 4. Clean Up
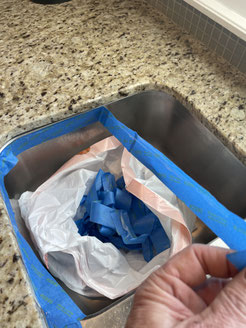
Have a trash bag handy when you pull the tape. Pull the tape and throw it in the bag. Wipe the counter with a damp rag BUT DO NOT TOUCH THE CAULKING.
Step 5. Inspect and Detail
Look closely for missed areas. It’s ok to add a small amount of caulk and touch it up. Latex can be damp sponged after touch ups. Silicone can be lightly smoothed with the finger. With practice, acetone can be use lightly on silicone within 5 minutes after applying, but too much will ruin it. If you mess it up, you will need to remove the poor areas and re-do.
Step 6. Protect from People!
Now don’t touch it for 24 hours. Don’t get it wet or touch it to see if it is dry. If after 24 hours it is not dry, then either the silicone was old or the latex was sponged with too much with water.

You did it! Mike Rowe would be proud of you.
There are a lot of DIY jobs around the house and caulking is one of them. Try it on your mother in laws bathroom and see how it goes. If you like the results, then move on to another bath or the kitchen. If you just can’t get it to look good, GIVE US A CALL AND WE WILL MAKE IT ‘PERFECT’.
Remember: Leave the stone and tile restoration to us!
There you have it folks….and no opinions about the world's problems…I must be coming down with something. I should be all better in a couple months. ;)
Now go get to your caulking repairs and make yourself proud. I’m telling you, everyone likes to see a quality caulk job.
As always, if you have any stone and tile maintenance needs, give me a call. 714-999-2961
Mark Ortiz
Owner
Pass this useful information to your staff and everyone associated with the stone industry. Let us know if you want to be added to our Monthly Education Newsletters.
Do you have a topic that the industry needs to know about? Email it to me: mark@perfectgranitesolutions.com
Instagram: @perfectgranite
Facebook : perfectgranitesolutions
Or call us at 714-999-2961
Write a comment